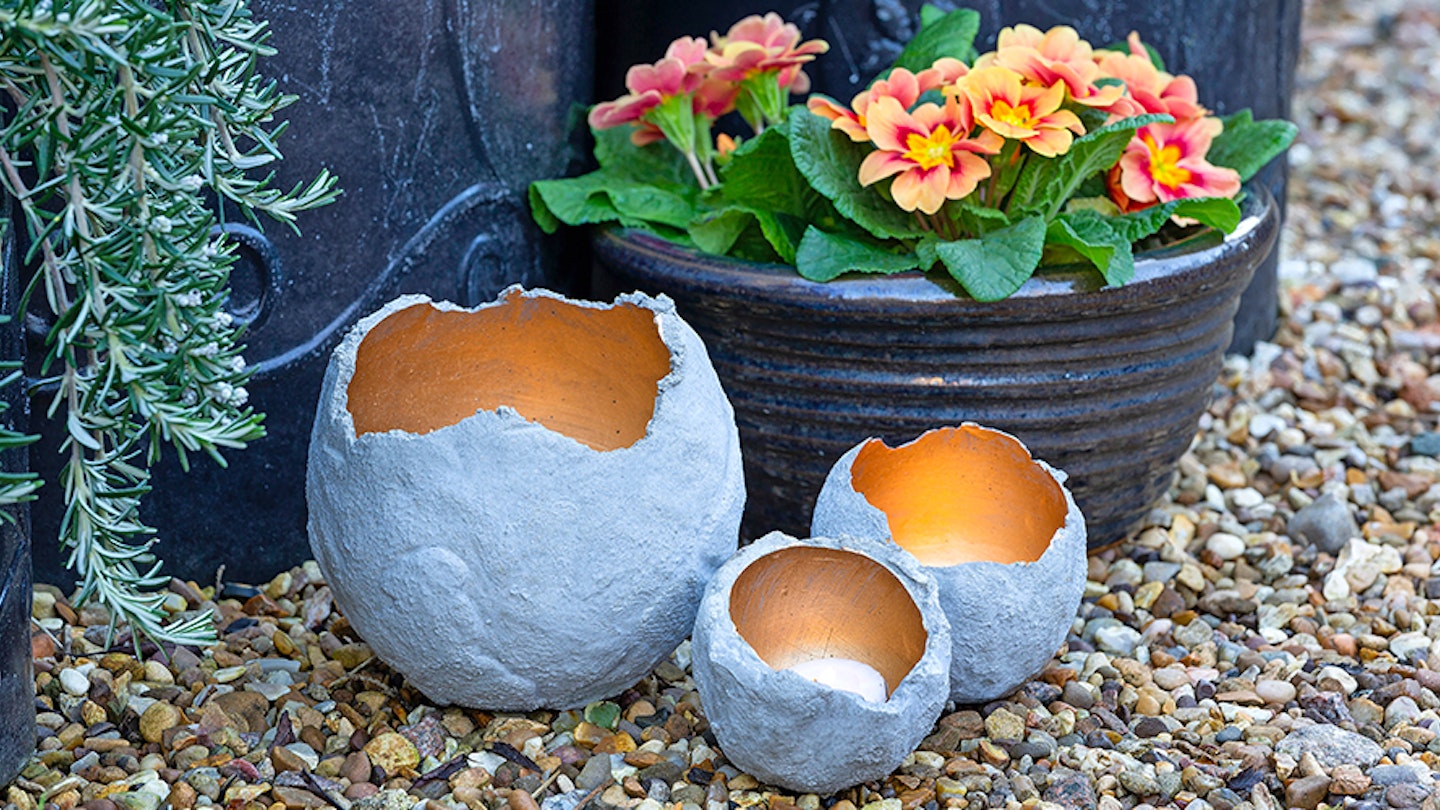
Concrete has been a garden trend for some time now, and these gorgeous tealight globes give the look a new twist. The rough-hewn edge gives them a natural feel while the smooth, reflective interior creates a sophisticated sheen.
The contrasting result is magically timeless, like a sparkling geode or fossilised egg. You’ll need to have everything ready and work quickly because the cement sets in minutes, but this also makes it a super-quick project to do on a sunny afternoon.
Do make a few extra holders, as they can be used as pot covers for plants, too.
You will need:
✽ Round latex balloons, £2/10 hobbycraft.co.uk
✽ Small flowerpot
✽ Waterproof gloves
✽ Quick-setting cement, £4.10/2.5kg wickes.co.uk
✽ Disposable container
✽ Water and spoon
✽ Wooden lolly stick
✽ Paintbrush and metallic paint: Rust-oleum Metallic Gold Paint, £12/250ml homebase.co.uk
✽ Tealights
What to do:
1 Blow up a balloon until it’s about half full, somewhere between 10-20cm in diameter if it’s standard sized. Squeeze it to force the air to the rounded end, making the shape as spherical as possible, then tie the neck closed. Place it, tied end down, on top of a small plant pot.
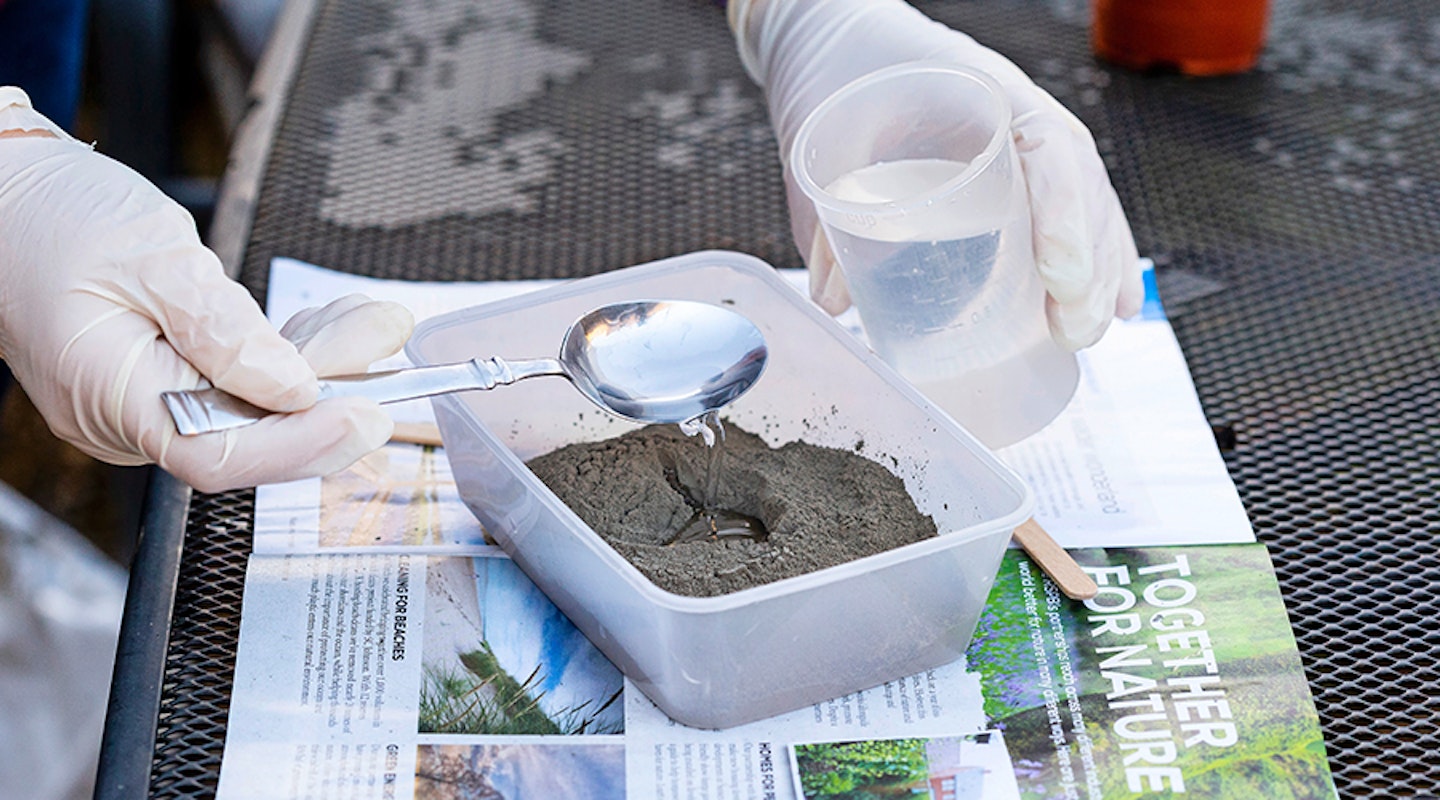
2 Pop on the gloves (cement can irritate your skin) and pour a cupful of dry cement powder into a disposable container – a takeaway food tray is ideal. Mix in water slowly, adding a spoonful at a time. Stop adding water when it has reached a consistency of very sticky clay or putty. Take care not to make it too wet but if you do, mix in a bit more cement powder.
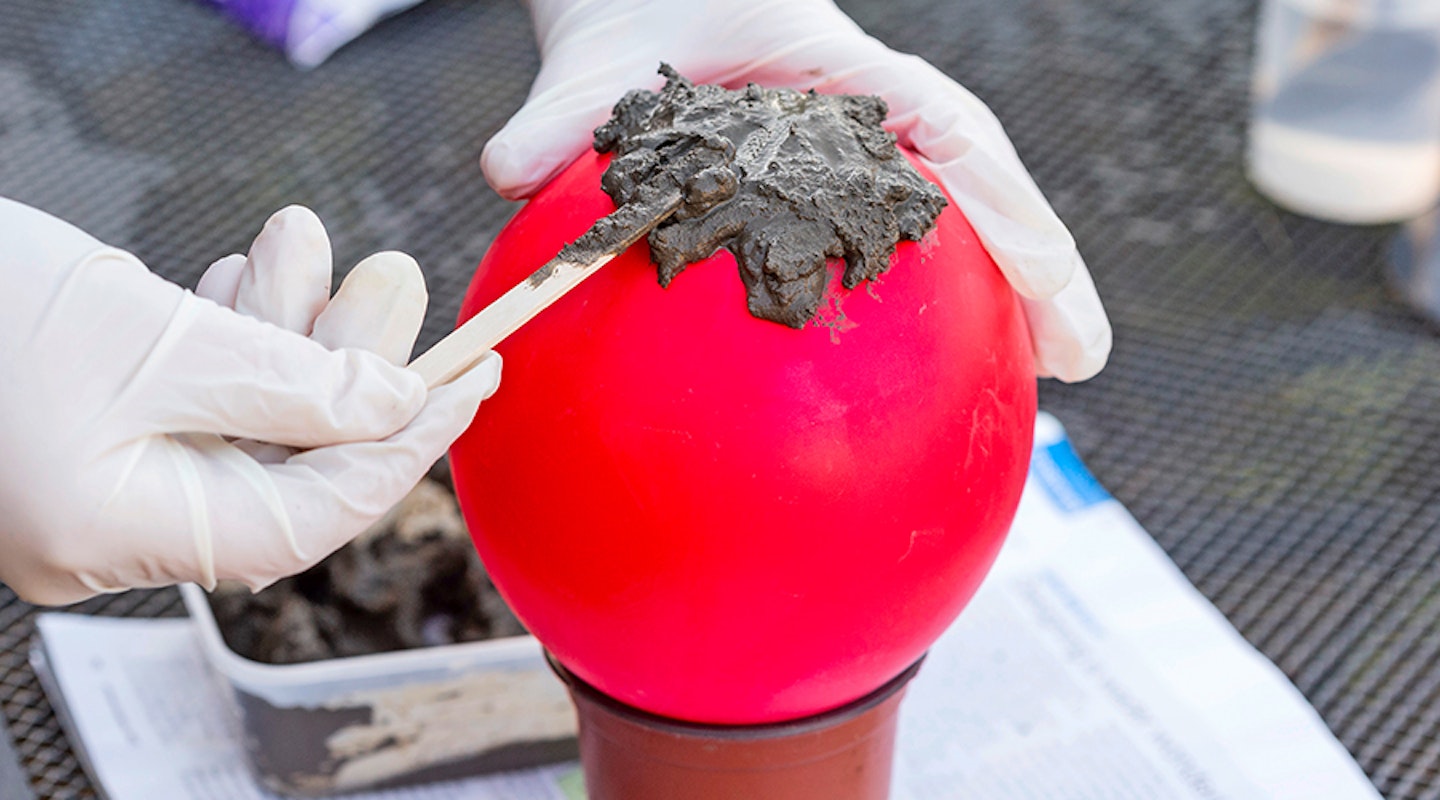
3 Using your gloved fingers or the wooden lolly stick, place a blob of the cement on top of the balloon and smooth it out. Add more blobs, smoothing them together from the top down, until you have covered most of the balloon.
4 Tidy up the edge, removing any concrete that starts to slide down over the pot. If you want the globe to be a planter rather than a lamp, gently scrape a small hole in the top to help drainage. Leave to dry in a cool, dry place overnight.
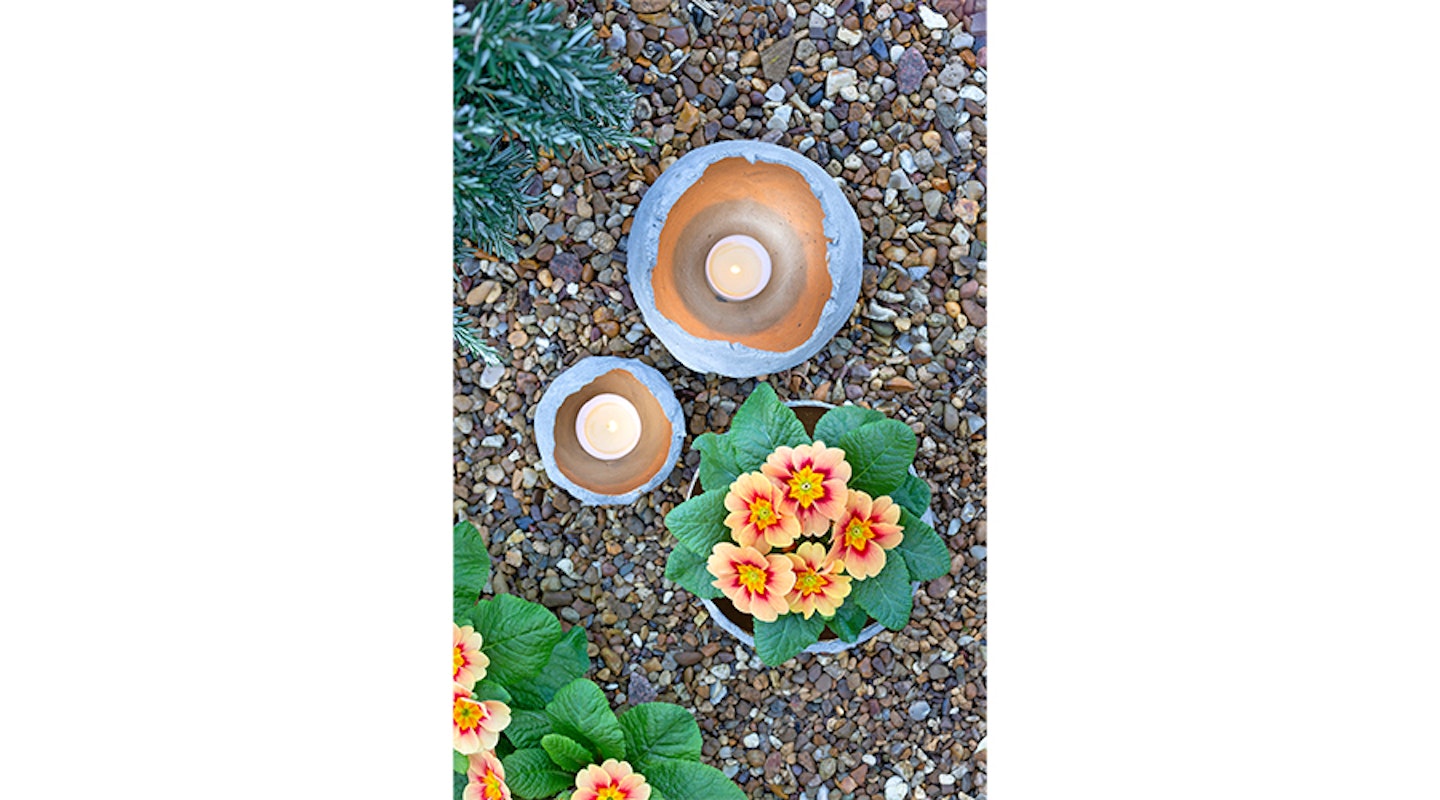
5 When dry, turn over the pot, burst the balloon and remove it. Paint the smooth interior with gold or copper all-surface paint. Apply two or three coats, letting them dry out in-between.
Photos: Neil Hepworth
Modern Gardens Tip
Use small water balloons to create mini tealight holders too
What to read next

Discover everything you need to know to make your outside space look fantastic, quickly and easily, with hundreds of simple ideas, designer tricks, affordable products and expert advice with a Modern Gardens Subscription. Find out more about the benefits of being a Member now.